


Views: 0 Author: Site Editor Publish Time: 2026-07-09 Origin: Site


Choosing the wrong mirror size disrupts spatial proportions immediately. It casts unflattering shadows directly across your face. Misjudging dimensions also heavily complicates your bathroom's electrical routing. Upgrading to an Led Bathroom Mirror shifts your decision process entirely. Pure aesthetics no longer dictate the choice alone. You must now evaluate structural integrity and electrical compatibility simultaneously. Cramped vanity spaces or costly rework often follow poor planning.
We will provide a strict, measurement-based framework to evaluate sizing accurately. You will discover practical methods to assess lighting performance. We will also cover specific spatial constraints affecting your layout. You will learn essential installation requirements to consider before you commit to a purchase. This ensures your final setup looks balanced and functions flawlessly every single day.
Visual balance relies entirely on accurate mathematical proportions. You cannot simply guess the right dimensions. A poorly scaled glass piece makes the entire vanity look awkward. We must look closely at standard cabinetry sizes. This provides a reliable baseline for your calculations.
Single vanities require a highly focused approach. These typically range from 24 to 48 inches wide. An actionable formula applies here perfectly. You should subtract two to four inches from the overall vanity width. This simple math yields the ideal fixture size.
For example, consider a standard 36-inch vanity. It pairs optimally with a 30-inch to 32-inch fixture. This calculated outcome prevents the glass from visually overpowering your cabinetry. It leaves a pleasing strip of wall space on either side. It also maintains a highly functional viewing angle for your daily routines.
Double vanities demand a completely different spatial strategy. These larger units span 60 to 72 inches or more. You have two primary approaches when designing for dual sinks. Both methods offer distinct functional benefits.
Here is a reference chart mapping ideal dimensions:
| Vanity Width | Vanity Type | Recommended Mirror Width |
|---|---|---|
| 24 Inches | Single | 20 - 22 Inches |
| 30 Inches | Single | 26 - 28 Inches |
| 36 Inches | Single | 30 - 32 Inches |
| 48 Inches | Single | 42 - 44 Inches |
| 60 Inches | Double | Twin 20" OR Single 54" |
| 72 Inches | Double | Twin 24" OR Single 60" |
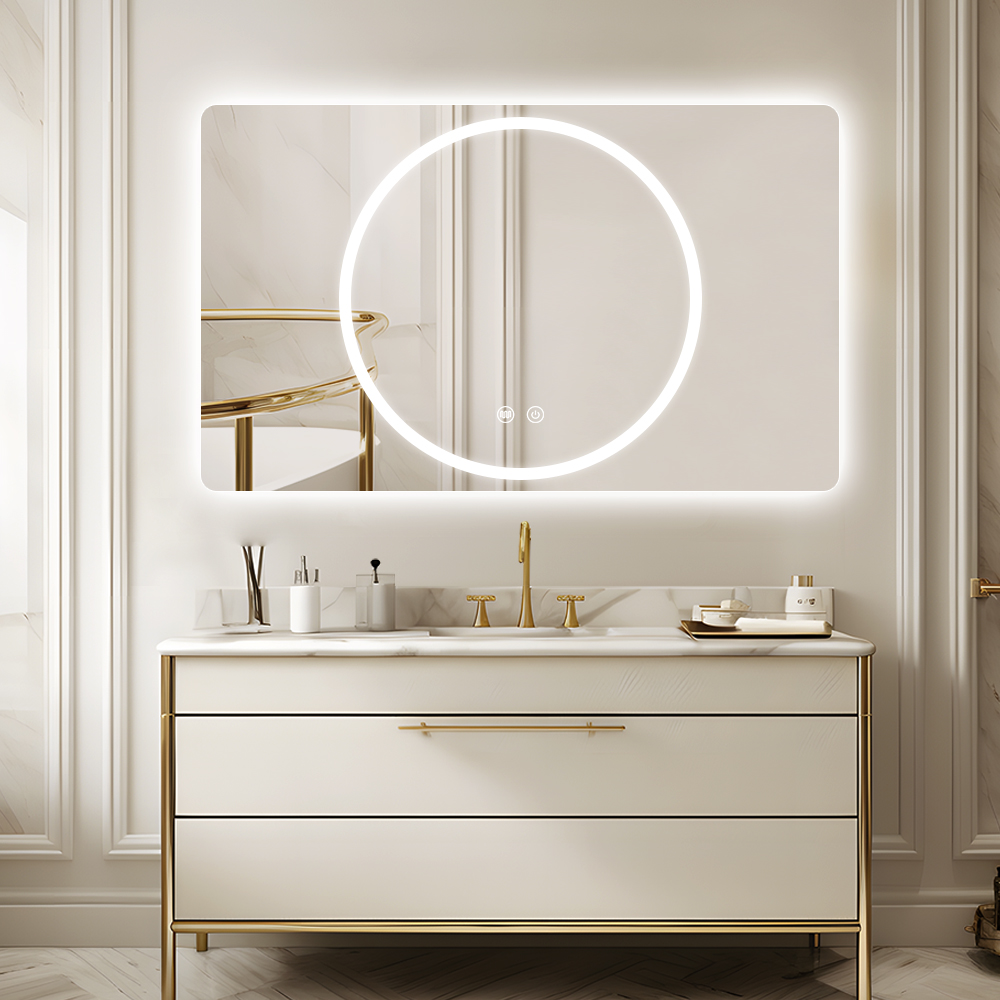
Installing a wall mounted LED mirror requires careful vertical planning. Horizontal width only solves half of the spatial puzzle. Height placement dictates ergonomic comfort and protects the hardware from moisture damage. You must measure vertical clearances meticulously.
Your faucet height heavily influences bottom clearance. You must leave a minimum of four to six inches of empty space. Measure this gap from the highest point of your faucet to the bottom edge of the frame.
This critical buffer prevents constant water splash. High-arc faucets easily spray droplets onto nearby surfaces. The clearance zone protects the sensitive lower electronic housing from standing moisture. It also leaves enough room for daily countertop cleaning.
Top clearance is equally important for a polished look. You should maintain at least two to four inches of empty space below the ceiling line. Pay close attention to overhead architectural bulkheads or crown molding.
Many layouts combine an illuminated fixture with overhead vanity lights. You must account for the physical depth of your new frame. A thick chassis might block the downward light throw from existing sconces. Measure the projection depth carefully to avoid creating accidental shadows.
Ergonomics dictate proper vertical positioning. Standard industry practice positions the center of the glass approximately five feet from the floor. This equals 60 inches exactly.
This height accommodates average adult users perfectly. It ensures the primary illumination hits the face directly. Adjust this measurement slightly if your household users are exceptionally tall or short. Always prioritize comfortable viewing angles over strict mathematical perfection.
Different lighting profiles serve entirely different functional purposes. You cannot treat all illuminated fixtures identically. The diode placement alters the light dispersion pattern significantly. The physical shape also dictates how much wall space you consume.
Front-lit models push light forward through a frosted glass border. They work exceptionally well for task-heavy environments. They excel during detailed makeup application or precise shaving routines.
This design creates a direct, focused beam on your face. It requires far less surrounding wall space for light diffusion. The photons travel straight toward the user. Front-lit designs dominate highly functional primary bathrooms.
Backlit models hide the diodes behind the primary glass panel. The light washes outward against the wall. This creates a distinct, sophisticated halo effect.
These configurations suit ambient lighting goals perfectly. They fit modern, minimalist layouts beautifully. However, they carry a specific spatial impact. You must leave a visual buffer zone around the frame. Plan for a minimum two-inch gap on all sides. This allows the light to wash against the drywall properly without hitting adjacent cabinets.
The geometric silhouette changes the entire room aesthetic. Shape also affects your usable reflective area.
Here is a quick comparison of lighting profiles:
| Profile Type | Best Used For | Lighting Direction | Wall Space Required |
|---|---|---|---|
| Front-Lit | Makeup, Shaving, Task Work | Directly forward | Minimal |
| Backlit | Ambiance, Nightlights, Decor | Outward against the wall | High (needs a 2" buffer) |
| Dual-Lit | Maximum overall illumination | Forward and outward | Moderate to High |
Shiny features often distract buyers from core hardware quality. You must look beyond simple aesthetics. True performance relies entirely on technical specifications. Validating these metrics prevents premature hardware failure in damp environments.
Thin glass distorts your reflection noticeably. Mandate a strict five-millimeter thickness for your purchase. This specific dimension guarantees a completely distortion-free reflection. It provides structural rigidity for the integrated electronics.
You must also verify the silver coating type. Demand a copper-free manufacturing process. Traditional manufacturing uses copper, which oxidizes rapidly in humid bathroom environments. This causes ugly black-edge corrosion over time. Copper-free designs resist this degradation entirely.
Raw brightness alone does not equal good lighting. The quality of the light matters immensely for cosmetic clarity. You must check two specific numbers.
First, verify the Color Rendering Index (CRI). It must exceed 90. A CRI above 90 ensures highly accurate skin tones. Low CRI makes your skin look washed out or unnaturally green.
Second, evaluate the color temperature. Look for adjustable settings if possible. The best models shift from 3000K warm white to 6000K bright daylight. If you choose a fixed temperature, select 4000K. This provides optimal cosmetic clarity without feeling clinical.
Electricity and water create inherent dangers. Safety compliance remains completely non-negotiable. Require an IP44 rating or higher.
The IP44 certification proves the unit resists moisture effectively. It certifies the internal electrical components are protected against water spray from any direction. Installing non-rated fixtures invites severe short-circuit risks.
Purchasing the hardware is only the first step. Proper installation separates a flawless finish from a frustrating ordeal. Many buyers underestimate the physical requirements. You must plan for electrical routing and structural support.
Assess your current electrical setup immediately. Determine whether your chosen unit is plug-and-play or requires hardwiring behind the drywall. Plug-in models install easily but leave an unsightly cord hanging down.
Hardwired models look clean and professional. High-draw features heavily complicate the wiring process. Built-in defoggers, Bluetooth speakers, and high-output diodes demand serious amperage. These often require a licensed electrician. They may even require a dedicated circuit to prevent breaker trips.
Illuminated units carry significant mass. Integrated power supplies, metal chassis, and five-millimeter glass add substantial heft. Standard drywall alone cannot support this weight safely.
Verify your existing wall structure before mounting. You often need to reinforce the area. Installing wood blocking behind the drywall provides the safest mounting surface. If you cannot open the wall, you must use heavy-duty toggle anchors rated for at least fifty pounds.
Heating pads provide excellent convenience after a hot shower. However, you must clarify your expectations regarding defogging performance. The heating element does not cover the entire glass surface.
Integrated heating pads usually only clear a central rectangular portion. They rarely stretch edge-to-edge. A large unheated border will still collect condensation. Understand this limitation before rejecting a perfectly functional unit.
Choosing the correct dimensions guarantees visual harmony and functional success. Your shortlisting logic should always begin with basic math. Base the final decision on your total vanity width minus four inches. You must verify vertical clearance around high-arc faucets and overhead ceilings.
Once sizing is settled, prioritize rigid technical specs. Demand an IP44 rating, greater than 90 CRI, and five-millimeter copper-free glass. Choose these foundational metrics over flashy novelty features. Quality hardware outlasts temporary design trends easily.
Take actionable steps before purchasing. Tape out the exact dimensions directly on your wall. Use standard painter's tape to preview the footprint perfectly. Finally, consult a qualified electrician early in the process. Ask them to assess wiring feasibility behind the vanity to avoid sudden installation surprises.
A: No. It should ideally be two to four inches narrower than the vanity. This size reduction maintains proper visual balance. It effectively prevents a top-heavy appearance from ruining your space.
A: You must allow at least two inches of empty wall space on all sides. This critical gap allows the halo lighting effect to disperse evenly against the wall. It prevents the light from casting harsh, uneven shadows.
A: Typically, no. High-lumen front-lit models provide excellent task lighting for your face. However, standard bathrooms still require dedicated overhead ambient lighting. Ceiling fixtures are necessary to eliminate room-scale shadows effectively.
A: Replacing a standard fixture with a plug-in model near an existing outlet is straightforward. You can usually complete it yourself. Hardwired models with wall switches require professional electrical routing and heavy wall anchors.


