

Views: 0 Author: Site Editor Publish Time: 2026-08-08 Origin: Site


Concealing power entry on a surface-mounted fixture requires routing the electrical cable directly through the rear panel into a recessed wall junction box. Modern bathroom aesthetics frequently clash with electrical realities when installing illuminated or smart fixtures. Designers want clean lines and floating visuals. Electricians need accessible junctions, secure wire runs, and code compliance. Unlike flush installations, a surface-mounted fixture exposes its side profile completely. Routing power for defoggers, LED lighting, or shaver sockets demands precise alignment between wall wiring and cabinet entry points. You cannot simply run a wire over the edge without ruining the visual appeal. Missteps during this alignment phase lead to code violations, ugly visible wires, or accidental damage to existing in-wall utilities. We will evaluate technical cable concealment strategies. You will learn about structural planning, electrical code compliance, junction box accessibility, GFCI requirements, and selecting the right cabinet design for your specific installation environment.
Direct Rear-Entry is the Gold Standard: Utilizing factory-designated rear knockouts aligned precisely with a recessed wall junction box provides the cleanest concealment.
Code Compliance Dictates Design: Electrical codes universally require junction boxes to remain accessible; concealment cannot mean permanently burying connections behind fixed cabinetry.
Safe Mounting Practices are Critical: Understanding standard in-wall wiring codes (parallel runs, no diagonals) is essential to avoid drilling into live wires when anchoring the cabinet.
Retrofitting Requires Compromise: When moving in-wall wiring isn't feasible, secondary methods like low-profile raceways or utilizing a cabinet's internal false back are necessary alternatives.
Form Factor Impacts Wiring: The internal volume of the fixture—whether a standard unit or a specialized narrow mirror cabinet—dictates the bending radius, hardware clearance, and termination space available for power cables.
A successful installation requires meeting three strict criteria. You must achieve zero visible external wiring. You must maintain the factory Ingress Protection (IP) rating of the cabinet. You must ensure full compliance with local electrical codes, such as the National Electrical Code (NEC). Achieving all three simultaneously requires careful pre-planning and exact measurements during the rough-in phase. Field experience shows that failing to plan the wire routing before drywall installation leads to costly rework and compromised moisture seals.
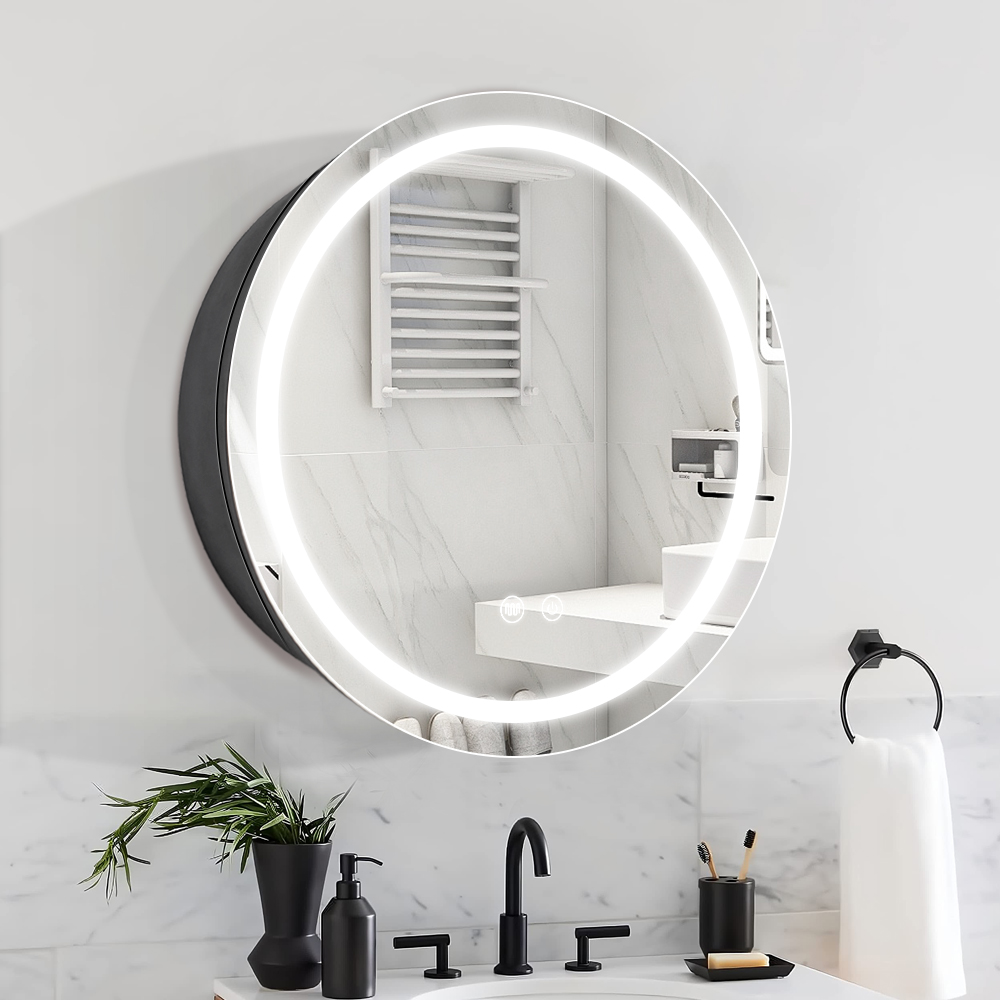
The physical constraints present a unique profile dilemma. A standard wall mounted mirror cabinet sits proud of the drywall. The sides, top, and bottom remain entirely visible from various angles in the room. Any cable entering from these exposed edges will instantly break the clean visual lines. The only viable path for true concealment is routing the power directly through the back panel of the fixture. This requires the wall wiring to exit the drywall at the exact coordinates of the cabinet's rear entry hole. You have zero margin for error when aligning the wall box with the cabinet chassis.
Pre-installation safety requires a deep understanding of hidden wires. Standard wiring code of practice dictates that in-wall wire runs must parallel the edges of the room. Electricians run wires vertically up and down stud bays or horizontally across them. Diagonal runs are strictly prohibited. This knowledge is crucial when mapping out your mounting holes. You must identify where existing power lines run to avoid piercing them with mounting anchors. Always use a high-quality stud finder with live AC wire detection before drilling into bathroom drywall. Hitting a live 120V line with a masonry bit creates an immediate life-safety hazard and requires tearing open the wall to splice the damaged run.
You must also distinguish between hardwired and plug-in configurations. Hardwired connections require a dedicated junction box and non-metallic sheathed cable (like Romex) or metal-clad (MC) cable. Plug-in models require a strategically placed recessed receptacle behind the unit. Hardwiring offers a cleaner look but demands stricter adherence to splice accessibility rules. Plug-in models simplify the electrical connection but require enough internal depth to accommodate the plug head without pushing the cabinet off the wall. A standard 15-amp plug head protrudes nearly an inch, which can prevent a flush mount if the cabinet lacks a recessed back panel.
The direct rear-entry method remains the absolute gold standard for a surface mount mirror cabinet. This approach requires mapping the cabinet’s rear knockouts (KOs) long before the drywall goes up. Installers must measure the exact distance from the finished floor (AFF) to the desired cabinet height. They then transfer the knockout coordinates to the bare studs using a self-leveling laser.
The recessed junction box approach facilitates this clean entry. You install a standard single-gang or round electrical box in the wall directly behind the cabinet's designated wire entry point. The box sits flush with the finished drywall. The power cable enters this box from the wall cavity. Using a specialized "old work" box allows you to retrofit this setup if the drywall is already installed, provided you have a clear stud bay to fish the wire down from the attic or up from the crawlspace.
Installers must adhere strictly to NEC cable securing rules. The code mandates stapling the cable within 12 inches of the junction box or entry point before it passes into the fixture. This prevents tension on the wire splices. Once the wall is finished, the wire extends from the flush box and passes through the cabinet's rear panel. Leaving adequate slack—typically 6 to 8 inches extending past the drywall—ensures you have enough wire to make a comfortable connection inside the chassis.
Internal termination requires careful handling. You route the wire through a protective rubber grommet or a PVC Terminal Adapter (TA) into the cabinet interior. The grommet protects the wire insulation from the sharp metal edges of the knockout. The final electrical connection occurs inside the cabinet's own integrated, accessible housing. This keeps the splice safe, legal, and entirely hidden from the outside.
Standard Wire Gauge and Breaker Requirements
Circuit Type | Wire Gauge (AWG) | Breaker Size | Typical Application |
|---|---|---|---|
Dedicated Lighting | 14/2 NM-B | 15 Amp | LED mirrors, low-draw defoggers |
Mixed Bathroom Receptacle | 12/2 NM-B | 20 Amp | Cabinets with internal shaver/hair dryer outlets |
Commercial Hardwire | 12/2 MC Cable | 20 Amp | Hotel installations requiring metal conduit |
Premium cabinet designs often feature a dual-layer back panel or built-in internal covers. This false back creates a shallow void between the actual wall surface and the visible interior rear wall of the cabinet. This solution category proves invaluable when you cannot align the wall wiring perfectly with a specific knockout due to a blocking stud or existing plumbing vent.
The false back allows installers to bring power in through an off-center wall location. You can pull the wire through the primary rear panel and route it laterally behind the false back. The wire travels invisibly to the cabinet's power driver or internal junction box. This hides the wire entirely within the fixture's chassis while accommodating slight misalignments in the rough-in wiring. It provides flexibility for electricians who inherit poorly planned rough-ins from previous contractors.
Hardware clearance remains a critical consideration here. You must ensure that internal wire routing channels do not interfere with moving parts. Concealed hinges require specific depth clearances to operate smoothly. Adjustable shelving tracks cannot be blocked by thick wire bundles. Internal control panels need unobstructed space for their own wiring harnesses. Careful routing prevents mechanical interference and wire chafing over time. Securing the internal wire with adhesive-backed zip-tie mounts keeps the run tight against the chassis and away from moving hardware.
Sometimes in-wall routing is completely impossible. Solid concrete walls, brick party walls, or strict rental property rules prevent cutting into the substrate. These scenarios present significant implementation risks. You cannot hide the wire inside the wall, so you must manage its appearance on the surface without creating an eyesore or a physical snag hazard.
Using paintable, low-profile surface raceways mitigates this issue. You route the raceway tightly along the top or bottom edge of the cabinet. The raceway protects the wire and blends into the wall when painted to match. The wire enters the cabinet through custom-drilled access holes. You must seal these holes with proper cable glands to protect the wire and maintain the cabinet's moisture resistance. While not entirely invisible, this method provides a safe, clean alternative for difficult retrofit environments.
Steps for Surface Raceway Installation
Measure the distance from the nearest GFCI outlet to the cabinet edge.
Cut the PVC raceway to length using a fine-tooth hacksaw or PVC shears.
Mount the raceway backing track to the wall using masonry anchors or heavy-duty adhesive tape.
Lay the power cord flat inside the track, ensuring no twists or pinches.
Snap the raceway cover over the track and apply a bead of paintable caulk along the edges.
Electrical compliance dictates strict rules regarding wire splices. The NEC requires that all electrical splices occur within an approved enclosure. More importantly, these junction boxes must remain accessible without damaging the building structure. You cannot conceal a junction box behind drywall or permanently bury it behind fixed cabinetry. Doing so creates a massive fire hazard and guarantees a failed home inspection.
The "Cabinet as the Cover" concept provides a legal workaround. You can mount the cabinet directly over a flush wall box. However, the cabinet back must have a cutout that aligns perfectly with the box. This cutout allows an electrician to access the wall box simply by opening the cabinet door. Alternatively, the splice can occur within a recognized, enclosed compartment inside the cabinet itself. The cabinet housing effectively becomes the approved enclosure. You must ensure the internal compartment has a removable metal or plastic cover plate secured by machine screws.
GFCI integration is mandatory in bathroom environments. Any power source near water requires Ground Fault Circuit Interrupter protection. You can achieve this at the breaker level in the main electrical panel using a GFCI breaker. You can also achieve this via an accessible internal GFCI receptacle within the cabinet. Planning for this protection ensures safety and prevents fatal shocks in wet zones. Never wire a bathroom fixture directly to a standard breaker without downstream ground fault protection.
Bathroom environments expose fixtures to heavy steam, condensation, and occasional splashing. Most quality bathroom cabinets carry an IP44 rating or higher. This rating certifies protection against solid objects and splashing water. Drilling custom holes into a cabinet chassis introduces significant implementation risks. An unsealed hole compromises the IP rating immediately. It exposes sensitive internal electronics, LED drivers, and wire splices to corrosive moisture.
Mitigation requires strict weatherproofing protocols. You must use rubber grommets whenever a wire passes through metal. You should utilize PVC terminal adapters (TAs) for larger entry points. Applying duct seal putty or high-grade silicone around the cable entry point prevents moisture ingress. Sealing the electrical panel ensures the longevity of the smart mirror components and prevents dangerous short circuits. Always apply the silicone from the inside of the cabinet to maintain a clean exterior profile.
IP Rating Breakdown for Bathroom Zones
IP Rating | Protection Level | Suitable Bathroom Location |
|---|---|---|
IP20 | Touch protected, no water protection | Outside bathroom zones only |
IP44 | Protected against splashing water | Above sink, general bathroom area |
IP65 | Protected against water jets | Inside shower enclosures |
Choosing between installation styles requires evaluating overall value influencing factors through an electrical lens. Both methods offer distinct advantages and present unique structural challenges. Your existing wall framing and plumbing layout will heavily dictate which path makes the most sense for your specific project.
A recessed mirror cabinet makes hiding wires significantly easier. The entire chassis sits inside the wall cavity. The power cable simply enters the side or top of the hidden chassis. However, this method requires major structural modifications. You often have to cut load-bearing studs, install headers, and reroute existing plumbing or vent stacks found in the wall cavity. This turns a simple electrical job into a multi-trade framing and drywall project.
A surface mount unit requires zero structural wall modification. You do not need to cut studs or reframe the wall. However, it demands millimeter-perfect electrical rough-in work. The power entry must align flawlessly with the cabinet's rear knockouts to ensure the connection remains completely hidden behind the unit. You trade framing labor for precise electrical layout work.
Your decision framework should rely on the existing architecture. Surface mounting is best for concrete walls, load-bearing walls, or budget-conscious retrofits where opening the wall is cost-prohibitive. Recessed mounting is best for minimalist aesthetics in new framing where wall cavities are open and accessible before drywall goes up.
Space constraints heavily dictate your wiring strategy. A narrow mirror cabinet offers very little internal volume for electrical terminations. Terminating thick gauge wire, like 12/2 or 14/2 Romex, inside a narrow fixture presents a physical challenge. The stiff copper wire has a limited bending radius. Forcing it into a tiny internal compartment can damage the insulation or strain the splices, leading to arcing or loose connections over time.
Utilizing modern lever nuts provides an excellent solution. Connectors like Wago 221 lever nuts require significantly less space than traditional bulky wire nuts. They allow wires to lay flat against each other. This saves crucial millimeters within the cabinet's internal electrical housing. It also provides a more secure connection in environments subject to door-slamming vibrations. Strip the wire to the exact length specified on the lever nut, insert the conductor, and snap the lever down for a secure, low-profile splice.
Commercial installations require scalability. A hotel mirror cabinet project involves handling power entry across hundreds of identical units. Contractors cannot afford custom drilling or complex wire routing for every single bathroom. Efficiency and repeatability drive the design. The labor cost of a slow installation process will quickly destroy a commercial project budget.
Standardization solves this commercial challenge. Hotel units frequently utilize standardized mounting cleats with integrated power channels. The electrician wires a central wall plate during the rough-in phase. The cabinet then hangs on a French cleat, and a built-in plug or standardized harness connects the power instantly. Built-in covers hide the connection. This allows maintenance teams to easily unmount the cabinet or access the electrical panel without complex rewiring or specialized tools. If a driver fails, the maintenance staff can swap the entire cabinet in minutes without calling a licensed electrician.
Direct rear-entry over a recessed wall box remains the only way to achieve a truly invisible, code-compliant power connection on a surface-mounted unit. Proper sealing and secure wire stapling ensure the installation lasts for decades without moisture damage or electrical faults. Retrofit methods like raceways work well, but nothing beats the clean look of a perfectly aligned rear knockout.
Always review the manufacturer’s specification sheet before finalizing your purchase. You must verify the exact location of rear knockouts and hinge clearances. Ensure these dimensions align with your existing bathroom wiring before drilling any holes.
Download the installation manual for your shortlisted cabinet to map out the exact rough-in dimensions on your wall.
Consult with a licensed electrician to verify local code requirements regarding in-cabinet junction boxes and GFCI breakers.
Inspect your bathroom wall with a stud finder and voltage meter to map existing parallel wire runs before drilling mounting holes.
Purchase appropriate rubber grommets, PVC terminal adapters, and duct seal to maintain the cabinet's moisture ratings during installation.
A: Yes, you can place a junction box inside a bathroom cabinet. The National Electrical Code requires all junction boxes to remain accessible. Placing it inside the cabinet meets this requirement, provided the box is not permanently blocked by fixed shelves and has a proper cover plate installed.
A: If you cannot cut drywall, use a low-profile surface raceway. Route the raceway tightly along the top or bottom edge of the cabinet. Run the wire inside the raceway and enter the cabinet through a custom-drilled, grommet-sealed hole. Paint the raceway to match the wall color.
A: In-wall wires generally run parallel to room edges, vertically or horizontally from outlets and switches. Never drill directly above or below an existing switch or outlet. Always use a high-quality stud finder equipped with live AC wire detection before drilling any mounting holes.
A: Hardwiring provides a cleaner, seamless look with zero visible cords, making it ideal for high-end finishes. Plug-in models are easier to install and replace, but they require a recessed wall outlet behind the mirror to prevent the plug head from pushing the cabinet off the wall.
A: There is no universal standard height for the junction box. The height depends entirely on the specific manufacturer's knockout locations. You must consult the product specification sheet to find the exact coordinates for the wire entry point before roughing in the electrical box.
A: Yes, you can drill a custom hole using a step bit or hole saw. However, you must deburr the metal edges and install a rubber grommet to protect the wire. Failing to seal the new hole properly will void the cabinet's IP moisture rating.
A: Yes. Bathrooms are high-moisture environments. You should use duct seal putty or silicone around the cable entry point to prevent steam from entering the electrical housing. Using anti-corrosion wire nuts or lever nuts adds an extra layer of protection against internal condensation.


